
This quilt is made from 38 strips that are 2-1/2” x WOF. Use a jelly roll, precut strips or cut your own strips from scraps.
In this free quilt tutorial, you will learn how to make this simple quilt by sewing strip sets and cutting them into segments.
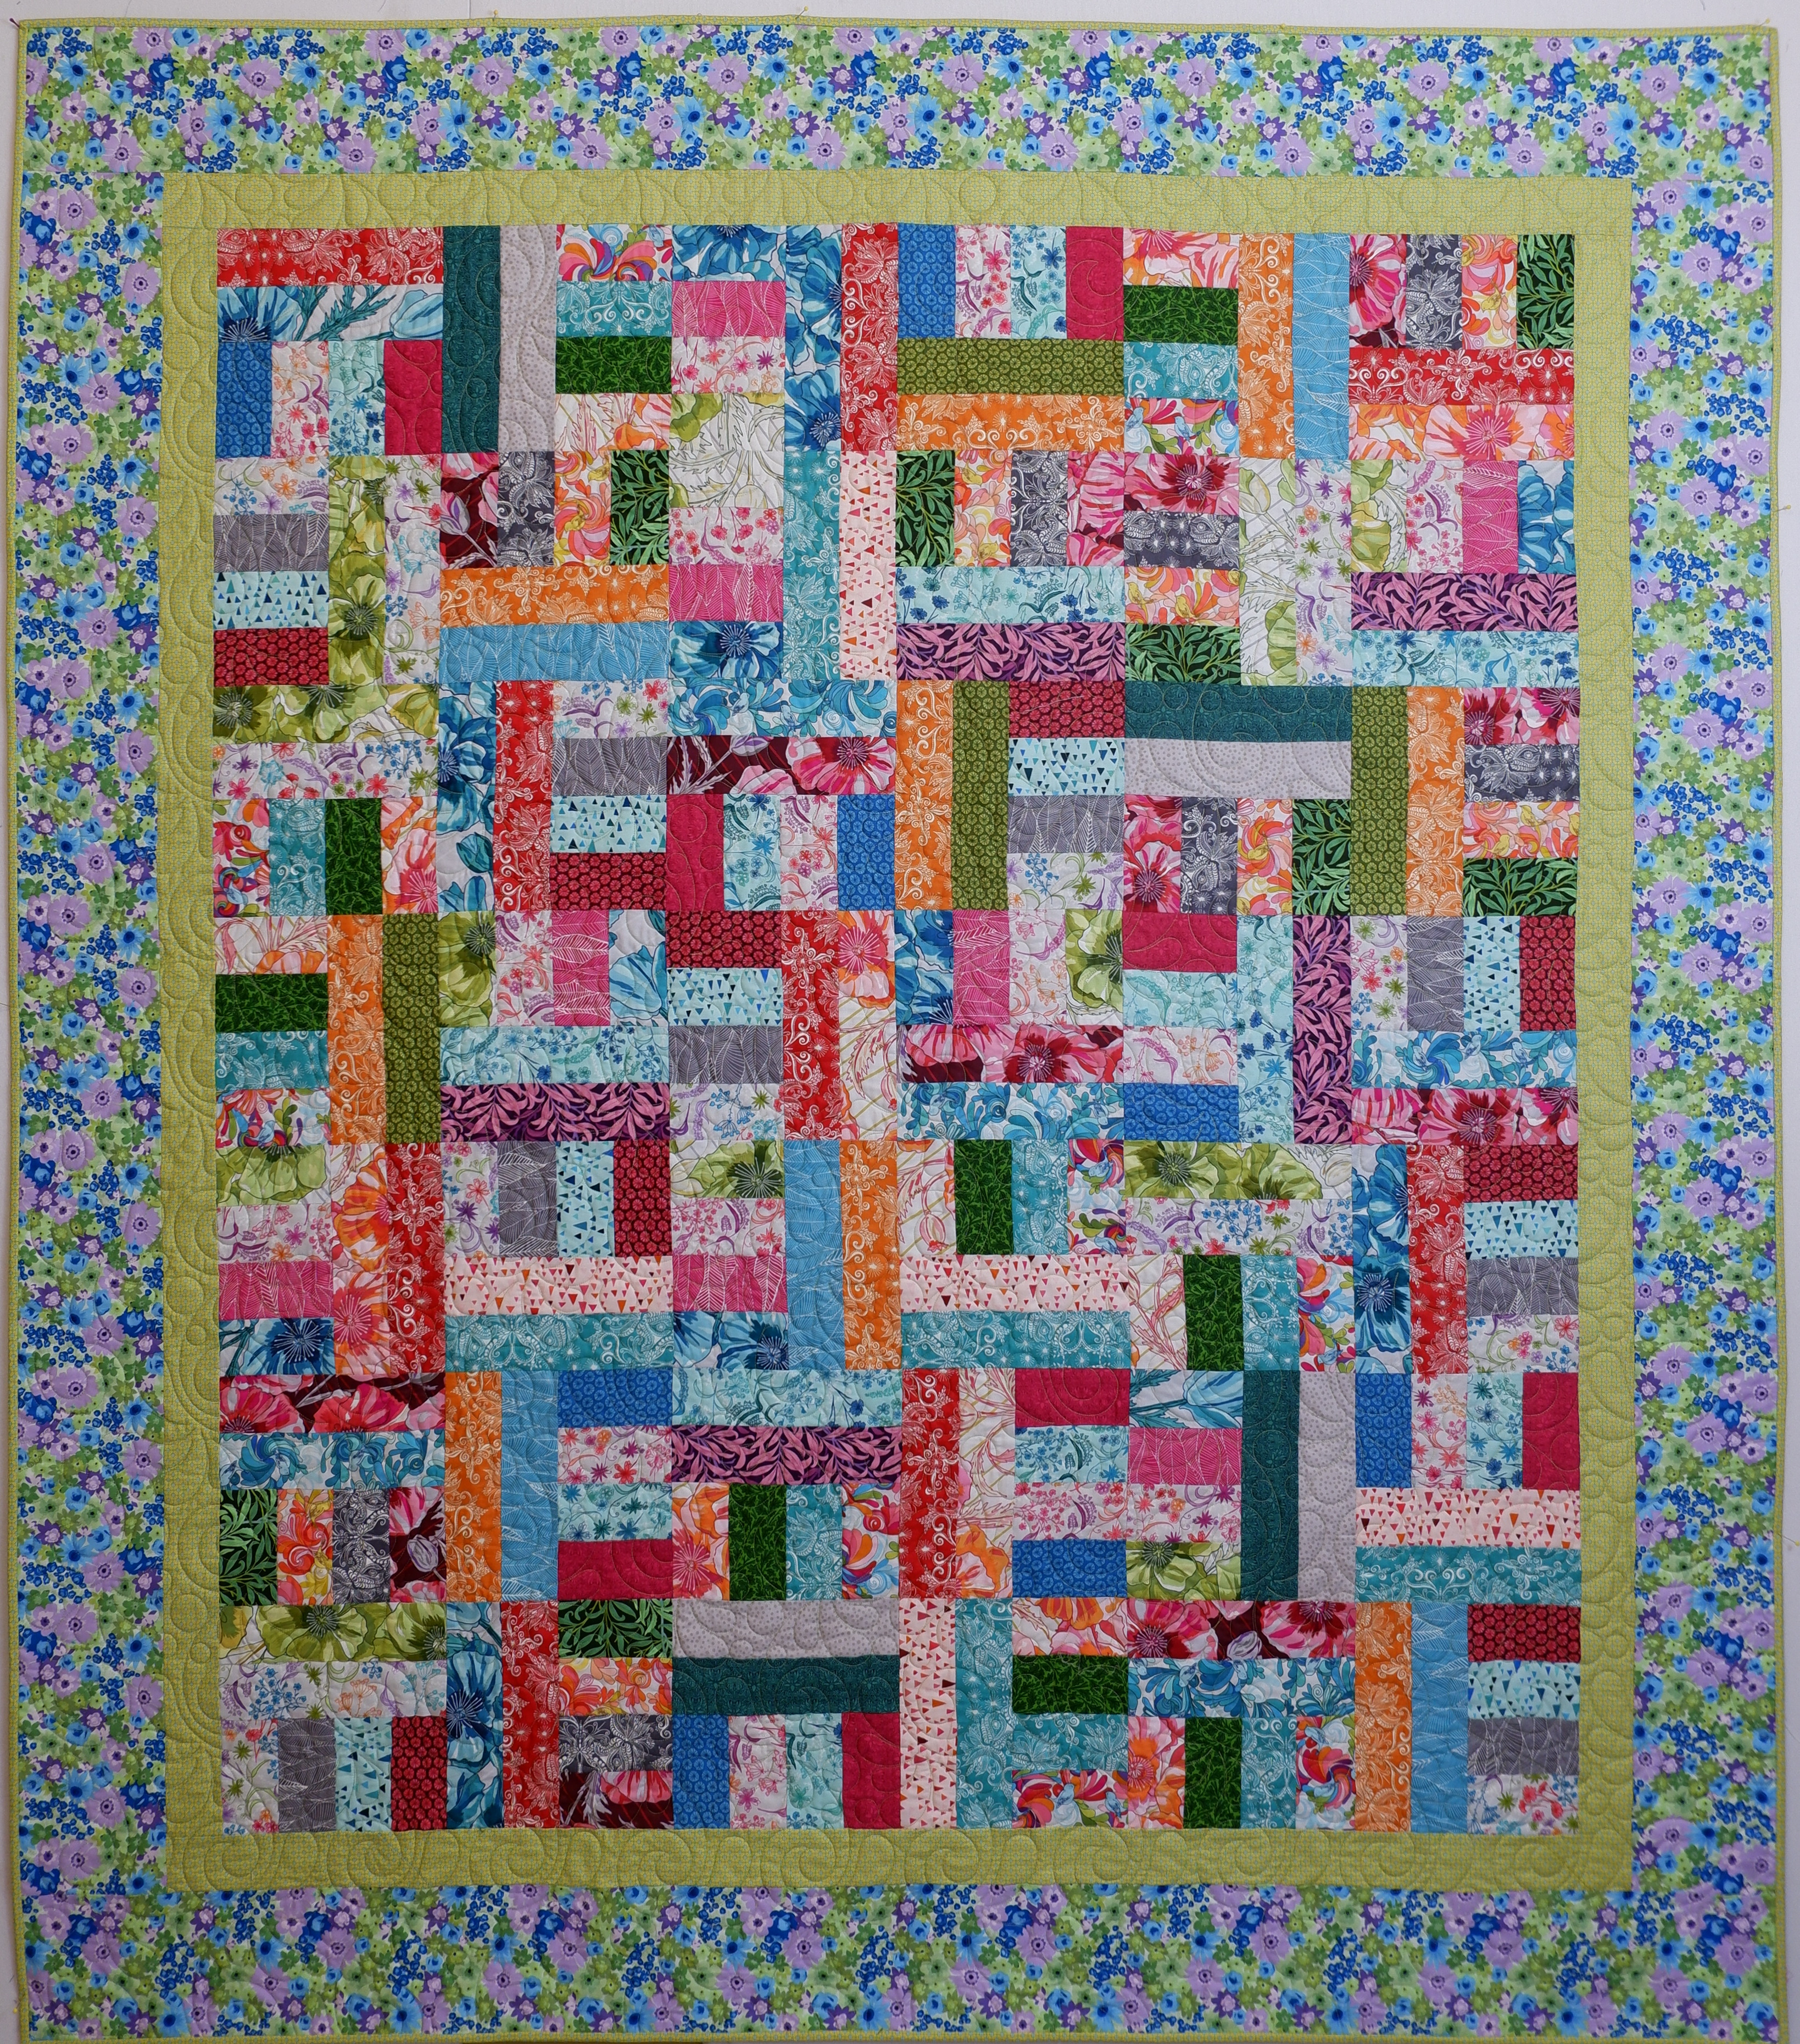
This quilt finishes approx. 61" x 70".
Fabric For Quilt Top
- 38 @ 2-1/2" x WOF strips
- 1-3/8 yd fabric for inner border and binding.
- Cut into 16 strips @ 2-1/2 x WOF
- 1-3/8 yd fabric for outer border
- Cut into 8 strips @ 5-1/2" x WOF
Steps to Make Slides and Ladders Jelly Roll Quilt
1. Choose 38 strips @ 2-1/2" x WOF.
2. Sew all the strips together in pairs to make 19 strip sets. Press seams open or to one side.

Make 19
3. Choose 9 strip sets from Step 2 above to cut the slides. For each strip set, cut 5 segments at 8-1/2".

You will have a total of 45 segments @ 8-1/2" x 4-1/2" slides. Set these aside for now.
4. From the remaining 10 strip sets, sew them together in pairs as shown below.

Make 5
5. For each strip set, cut 9 segments @ 4-1/2".

6. Sew a slide segment to a ladder segment as shown below.

Mix up the orientation of the slides and ladders for more variety in fabrics.

Try not to sew the same fabrics next to each other but it will happen anyway!
7. Lay out your blocks in rows of 6 as shown below. You will have 4 odd rows and 3 even rows.

8. Sew the rows together.

- Piece 8 inner border strips together into one long strip.
- Measure the quilt length and cut two pieces to this size.
- Attach one piece to the left side and one piece to the right side of the quilt.
- Measure the quilt width and cut two pieces to this size.
- Attach one piece to the top and one piece to the bottom of the quilt.
Outer Border
Using The outer border strips, repeat steps 1 thru 5 above to attach the outer border.

Happy Quilting!
Carol